 how-to
7 Custom Tile Installation Design Tips for Better Results
Quick Summary
Custom tile installation design tips start with the overall look: choose two or three colors that work together, then pick tile size and layout. Large-format tiles like 12x24 inches make a room look wider, and a dry layout check shows where cuts will fall before any adhesive goes down.
- Pick one main color and one accent color, and test samples in the room at different times of day.
- Large format tiles like 12x24 inches use fewer grout lines and make a room look wider.
- Start the layout from the center of the room so the edge cuts come out balanced.
- Check the subfloor for flatness and stiffness before setting any tile.
- Plan extra tile beyond the room measurement to cover breakage and cuts.
Table of Contents
- Start With the Design Decisions That Shape Everything Else
- Choosing a Pattern: Straight Lay, Offset, Herringbone and Diagonal
- Tile Floor Patterns for 12x24 Tiles and Large Format Layouts
- Wall Tile Layout Patterns and Feature Walls
- Planning the Layout Before Any Tile Goes Down
- Preparing the Substrate, Setting Tile and Avoiding Common Mistakes
- Booking Your Custom Tile Project With JB's Construction
- Frequently Asked Questions
Last Updated: November 4, 2026
Custom tile installation design tips can save you from a bathroom that looks cheap and a floor that cracks in two years. For homeowners planning a custom tile project, a few early choices decide how the finished room looks and how long it lasts. The same planning steps apply whether you hire a crew or tackle the job yourself.
Most tile problems start before the first tile is set. The style, color, size, and pattern all interact, so a choice that looks good alone can clash once it is in place.
Start With the Design Decisions That Shape Everything Else
Pick the room's overall look before you pick any single tile. A clear direction keeps the choices consistent.
Choosing a tile style and color palette for the room
Start with two or three colors that work together. Neutral tones such as warm white, gray, and beige are easy to live with and help a small room feel larger. Bold colors work well as an accent on a single feature wall or in an inset niche.
Bring a few tile samples home and look at them in the room at different times of day. Morning light and evening light can change a color quite a bit.
- Pick one main color and one accent color
- Match the grout color to the tile, or pick a deliberate contrast
- Test samples against the cabinets, paint, and fixtures
How tile size and orientation change how a room feels
Large format tiles, such as 12x24 inches, make a room look wider and cleaner because they use fewer grout lines. Smaller tiles add texture and work well on curved or irregular surfaces.
Orientation matters too. Laying a long tile lengthwise along the longest wall pulls the eye across the room. Turning it the other way can make a narrow bathroom feel shorter.
Choosing a Pattern: Straight Lay, Offset, Herringbone and Diagonal
Each layout pattern gives the room a different feel, but the pattern also drives how much tile you buy, how many cuts you make, and how the grout joints read. Pick the pattern with those practical consequences in view, not just the inspiration photo.
- Straight lay: Rows line up in a grid. It is simple to install and looks clean and modern.
- Offset (brick) pattern: Each row shifts by half a tile. It hides small size differences and suits most rooms. A 1/3 offset is more forgiving than a 1/2 offset on large-format tile because it reduces lippage at the corners.
- Herringbone: Rectangular tiles form a zigzag. It adds movement but takes more cuts and more time. Plan for extra waste, and expect the pattern to dictate a specific tile proportion or the zigzag will not close.
- Diagonal layout: Tiles are set at a 45-degree angle. It can make a small room look larger, but it uses more tile because of the waste at every perimeter cut. Budget for extra tile.
Pattern, joint width, and grout color
The pattern and the grout joint work together. A tight 1/16 inch joint emphasizes a continuous field and suits rectified porcelain; a wider 1/8 to 3/16 inch joint gives handmade or stone tile room to move and hides slight size variation. Grout color changes the read of the pattern: a grout matched to the tile makes the layout recede, while a contrasting grout draws the eye to the geometry.
Edge, trim, and transition details
Plan the edges before you set the field. Bullnose, schluter-style profile strips, and pencil trim each solve a different problem, an exposed tile edge, a change in floor height, or the meeting point between tile and another flooring material. Transitions to carpet or wood usually need a reducer or a T-molding, and the height difference should be measured before the tile is set, not after.
From pattern to layout plan
A pattern is only a design until it becomes a layout plan. Measure the room, mark center lines, and dry-lay a row with spacers to see where the cuts fall. Adjust the starting point so the edge cuts are at least half a tile wide, thin slivers look awkward and crack easily. Take photos of the dry layout so you can reset it after the adhesive is spread.
Tile Floor Patterns for 12x24 Tiles and Large Format Layouts
Large format tiles look best with a simple layout that shows their size. A straight lay or a subtle offset keeps the room calm and avoids a busy look.
Large tiles need a flat surface. Any dip or ridge shows more with big tiles, so check the subfloor carefully before you start. Plan your cuts so the tiles at the room's edges are not thin slivers, which look awkward and crack easily.
Wall Tile Layout Patterns and Feature Walls
A feature wall is a good place to try a bolder pattern. Limit it to one wall so the room does not feel crowded.
Stacked vertical lines make a wall look taller. Horizontal subway-style lines make it look wider. Start the layout at the center of the wall and work outward, so the cuts at both edges are even.
Planning the Layout Before Any Tile Goes Down
Lay tiles dry before you apply any adhesive. This step shows you where cuts will fall and whether the pattern works.
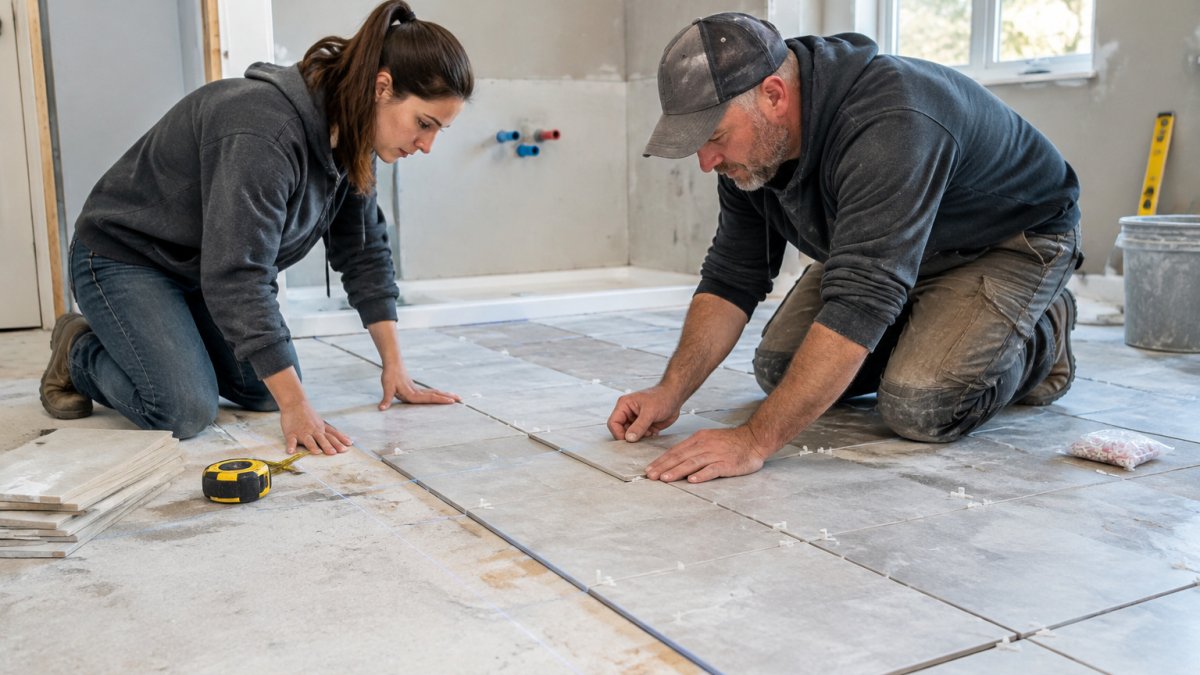
- Measure the room and mark the center lines with chalk.
- Lay out a row of tiles without adhesive, using spacers.
- Check the cut tiles at the edges and adjust the starting point if they are too small.
- Take photos of the layout so you can reset it easily.
A common mistake is starting from a corner. That often leaves thin cut tiles along the far walls. Starting from the center gives you more balanced edges.
Preparing the Substrate, Setting Tile and Avoiding Common Mistakes
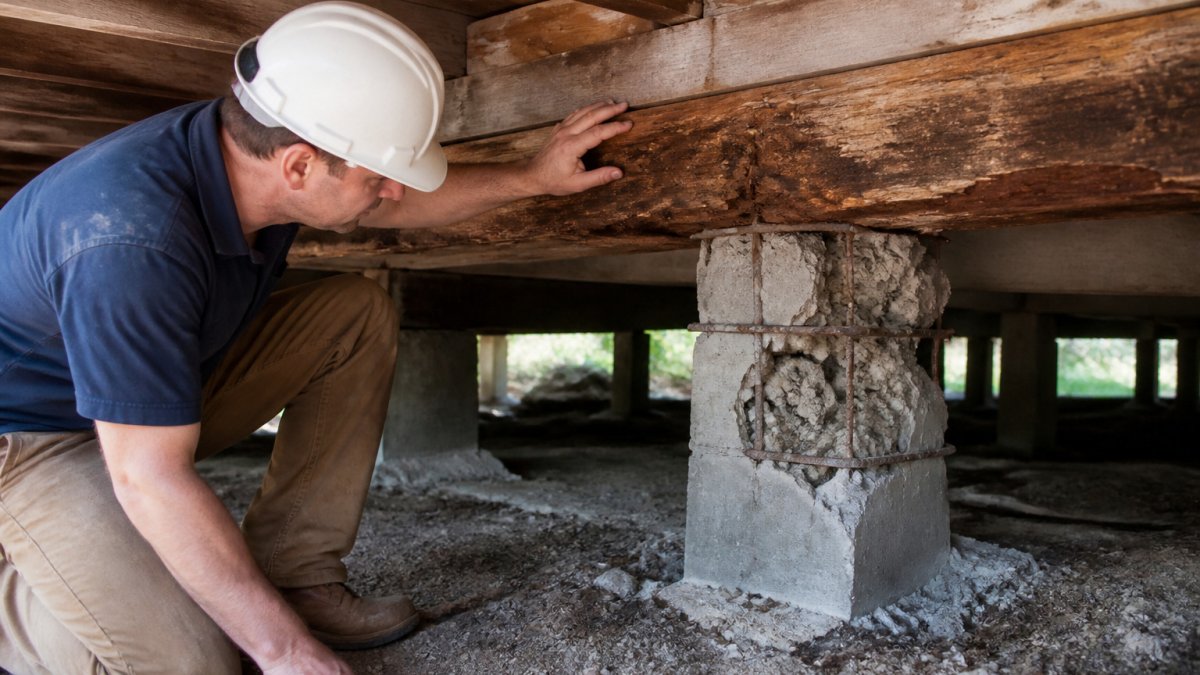
The surface under the tile matters as much as the tile itself. A cracked or uneven substrate will crack the tile above it, and no grout or thin-set can fix a floor that flexes.
Substrate suitability and flatness
Check three things before any tile goes down: stiffness, flatness, and moisture. For wood-framed floors, the subfloor must meet the deflection limit recommended for the tile type; check current tile industry guidance for the specific benchmark. A floor that bounces underfoot will transfer that movement into the tile and grout.
Flatness is measured with a 10-foot straightedge. Flatness tolerances depend on the tile type and manufacturer guidance. Grind high spots and fill low spots with a patching compound before you set anything. Any dip or ridge shows more with big tiles, so check the subfloor carefully before you start.
Waterproofing and underlayment
In wet areas, showers, tub surrounds, bathroom floors, use an approved underlayment and a bonded waterproofing membrane. Cement backer board alone is not waterproof; it is water-resistant. The membrane, applied over the substrate or as a liquid coating, is what keeps water out of the framing. Pay attention to the seams, corners, and the transition to the drain, because those are where failures start.
Mortar selection and application
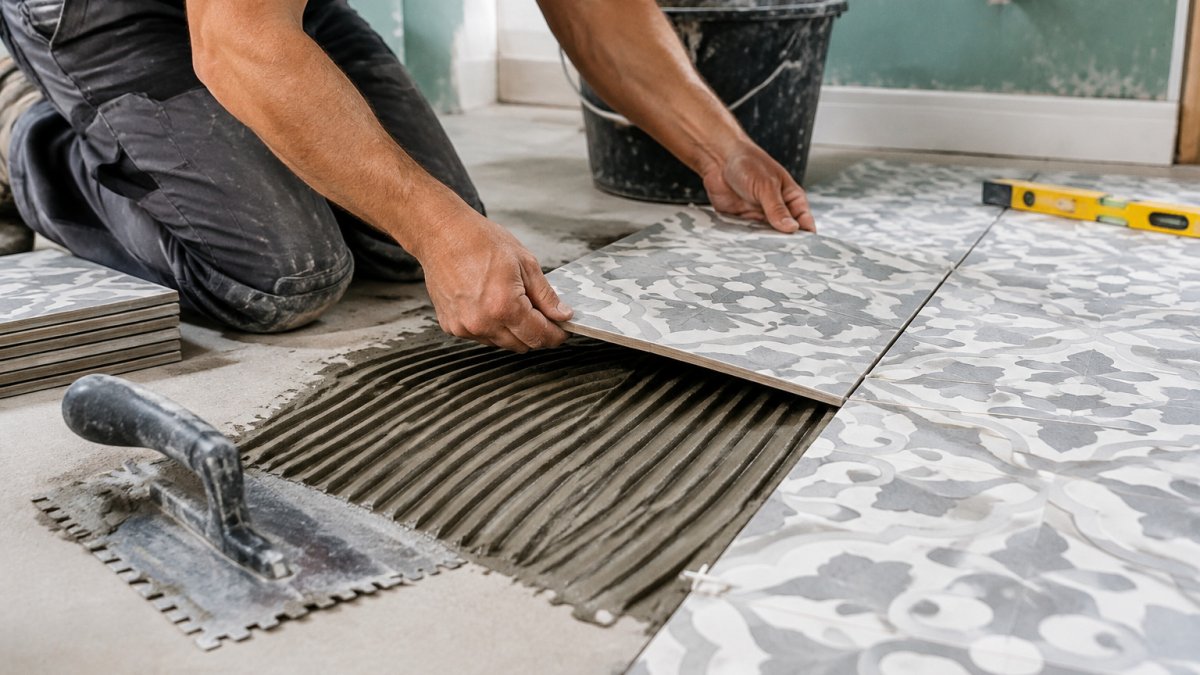
Choose a thin-set mortar rated for your tile size and type. Large-format tile needs a medium-bed or large-and-heavy-tile mortar that can support the weight and bridge minor substrate variation.
Use the right trowel notch for the tile.
Watch out: Thin-set that skins over before you press the tile in will not bond well. If the combed ridges have lost their sheen, scrape the mortar off and start fresh.
Setting, alignment, and movement joints
Use spacers to maintain consistent grout joints, and check alignment with a level and a straightedge as you go, not only at the end. Leave movement joints where the tile meets walls, at corners, and across large fields, following the spacing recommended by the tile and substrate manufacturers. These joints absorb expansion and prevent tenting and cracking.
Common mistakes and troubleshooting
- Lippage: Uneven tile edges catch light and trip people. Check the level as you go and use a lippage-tuning system on large-format tile.
- Poor adhesion: Usually caused by skimmed-over mortar, insufficient coverage, or a dusty substrate. Vacuum and damp-wipe the surface before spreading mortar.
- Layout drift: Rows wander when you do not re-check the chalk lines. Snap new reference lines every few rows.
- Uneven cuts: A dull blade or a wet saw out of alignment produces chipped edges. Dress the blade and check the fence before cutting.
Plan extra tile. Most projects need extra tile beyond the room measurement to cover breakage and cuts, with more for diagonal or herringbone layouts. Keep a few spare tiles from the same dye lot for future repairs.
The table below summarises the common tile problems, their causes and fixes covered in this section.
| Problem | Cause | Fix |
|---|---|---|
| Lippage | Uneven tile edges | Check level as you go; use lippage-tuning system |
| Poor adhesion | Skimmed-over mortar or dusty substrate | Vacuum and damp-wipe; spread fresh mortar |
| Layout drift | Chalk lines not re-checked | Snap new reference lines every few rows |
| Uneven cuts | Dull blade or misaligned wet saw | Dress the blade; check the fence before cutting |
Booking Your Custom Tile Project With JB's Construction
If you want the design done right the first time, JB's Construction LLC can plan the layout, prepare the surface, and set the tile with you through every step. We keep in regular contact so you always know where the project stands. Free estimates are available, so you can see the costs before you commit. Get a Free Estimate from JB's Construction LLC to start planning your custom tile project.
Frequently Asked Questions
What is the 1/3 rule for tiles?
The 1/3 rule is a common layout guideline for running a staggered or offset pattern. Each row is shifted so the joint falls roughly one-third of a tile length from the joint in the row beside it. Many installers use it with rectangular tiles, such as 12x24-inch porcelain, because it spreads cut pieces evenly and avoids long vertical lines that make small floors look narrow. It is a starting point, not a rule that must be followed. Dry-lay a few rows before committing to the offset, and adjust if a wall or doorway would leave a sliver of tile at the edge.
Which tile pattern works best with 12-by-24-inch tiles?
Straight lay and a one-third offset are the most reliable choices for 12x24-inch tiles. Straight lay creates a modern, linear look that suits rooms with clean lines, but any slight unevenness shows more with long tiles. A one-third offset is often a better compromise for floors because it hides minor imperfections and reduces the visual pull of long joints. Herringbone with 12x24 tiles can look striking, but it requires more cuts and more waste. Choose the pattern after dry-laying a sample section in the actual room.
How do you plan a tile layout before installation?
Start by measuring the room and finding its center in both directions. Snap chalk lines through the center to create a reference grid, then dry-lay tiles with spacers along those lines. Check the cuts at the walls and doorways, and aim for border tiles that are at least half their full width. Test the pattern, adjust the starting point to avoid thin slivers, and mark the final layout lines. Order about 10 percent extra tile for waste and future repairs, more for diagonal or herringbone layouts.
How do I know if a surface is ready for custom tile?
The substrate needs to be flat, stable, clean and dry before tile goes down. Check for lippage, which is uneven edges between adjacent tiles, by running a straightedge across the surface. Remove old adhesive, cracked underlayment and loose material. Use a cement backer board or an approved underlayment in wet areas, and install a waterproofing membrane where moisture exposure is high. Movement joints are needed where the subfloor flexes or where tile meets a different material, so ask for them during planning.